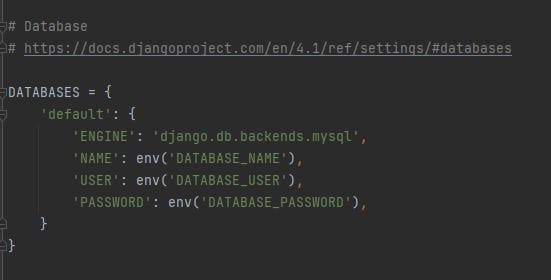
The database we'll be using in this article is MySQL, but what you will learn in this article can also be used for other databases. Before we start, you need to go to your project terminal (Virtual environment) and type the command pip install mysqlclient. This will enable us use MySQL in our code (Note: You need to have MySQL installed and configured on your computer). Once you're done with the installation, we can now move on to setting up our database.
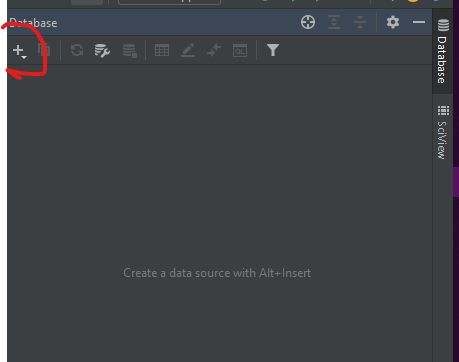
Open your Django project in your PyCharm IDE and click on the Database tab at the top right corner of the IDE.
 You should see the image above at the top right corner of your screen
Click on the plus icon that shows after clicking on database
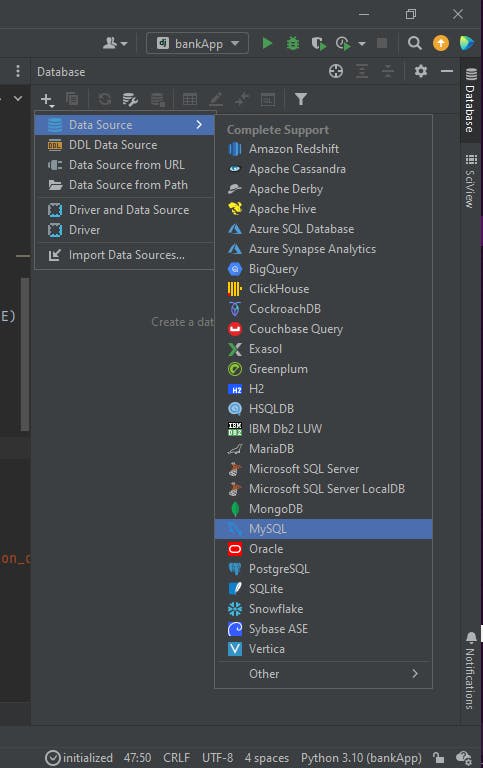
Click on data source, and then select database of your choice(MySQL in this article)
Put your MySQL details in the form that shows up (User and password)
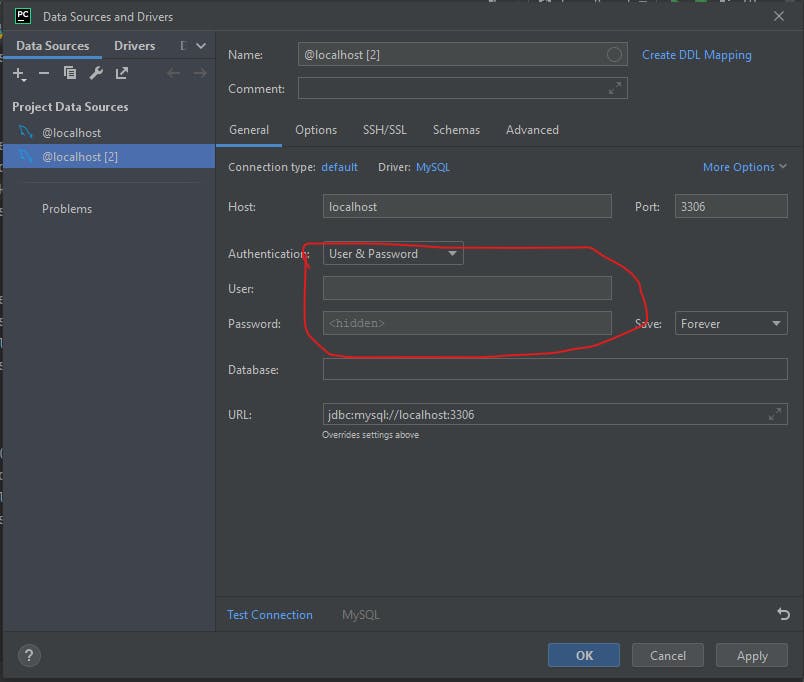
- Click on test connection to check if your details are correct

you should get a succeeded message if you put in the correct details

Click on apply to proceed
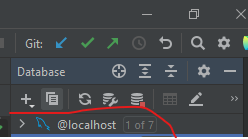
Click on the plus icon and then query console
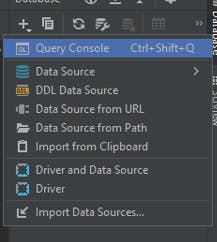
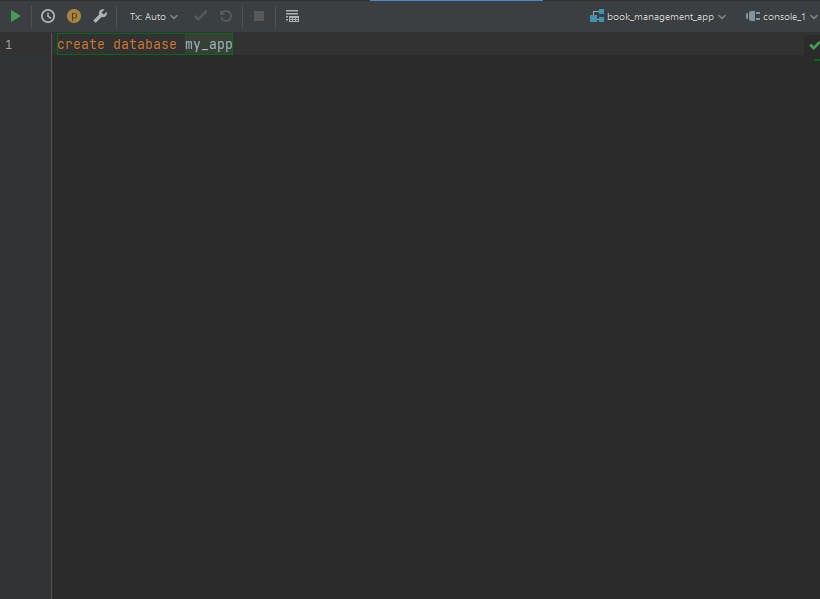
A new tab should open up to create your database. Type create database {name of your database} to create database
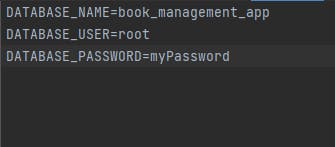
After creating your database, go back to your terminal (Virtual environment) and type the following command pip install django-environ. We are going to use this to reference our database. Go to the root folder of your project and create a .env file. Inside your .env file, type the following:
DATABASE_NAME={name of the database you created}
DATABASE_USER={root}
DATABASE_PASSWORD={your database password}
Go to your settings.py of your project folder and import environ. With environ, you will be able to import your .env file now

Go to the database settings and add this
